How Are Sash Windows Fitted? A Step-by-Step Guide to Professional Installation
Sash windows add a touch of classic elegance to any home. These traditional windows, with their vertically sliding panes, have been popular for centuries and continue to be a sought-after feature in both period properties and modern builds. Many homeowners wonder about the installation process when considering an upgrade to their existing windows.
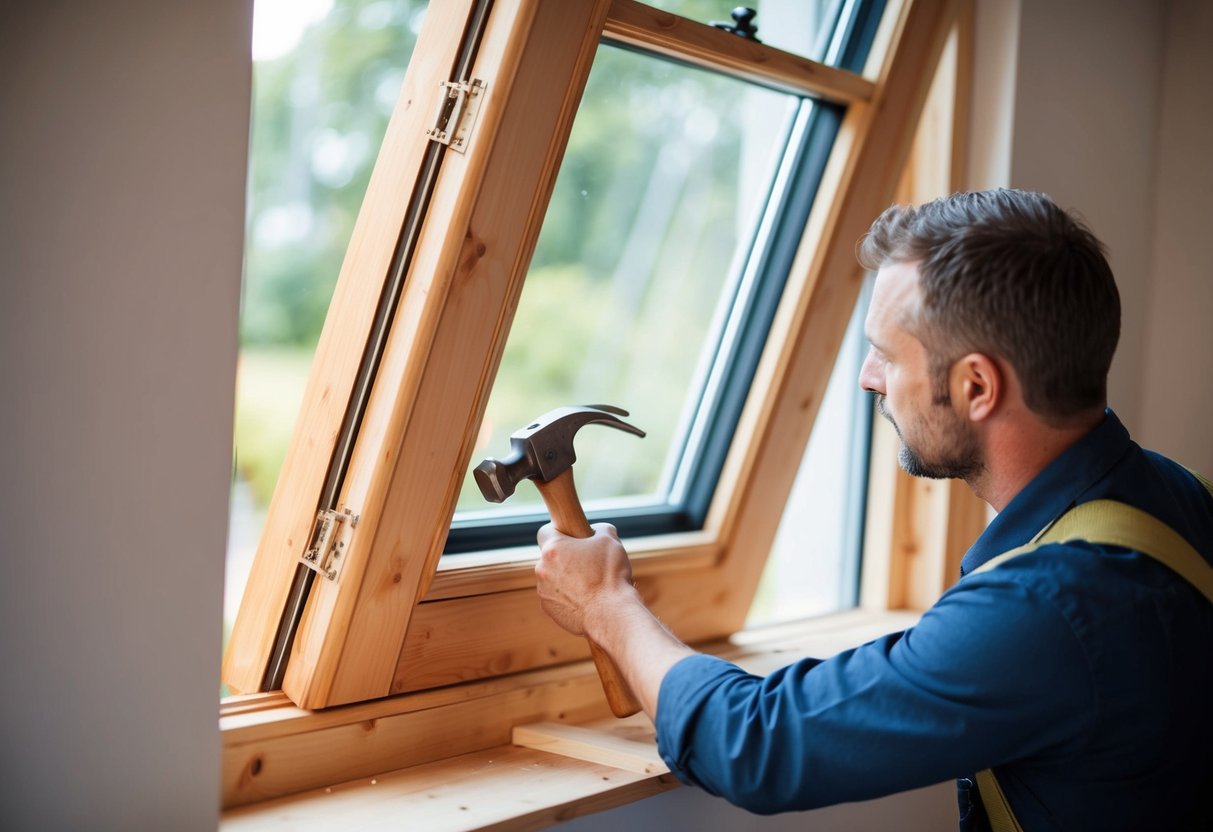
Fitting sash windows involves removing the old window, preparing the opening, and carefully positioning the new frame to ensure it’s level and secure. The installation typically begins by taking out the existing window and frame completely, followed by levelling the base for the new sash window. Proper levelling is crucial for ensuring the window operates smoothly, as even small inconsistencies can affect how the sashes slide.
The final stage involves securing the outer frame in position through fixing points located near the corners and at intervals along the frame. Installers typically place fixings between 150mm and 250mm from the corners, with maximum centres of 600mm. While many homeowners opt for professional installation, the DIY route is possible with careful preparation and the right tools.
Understanding Sash Windows
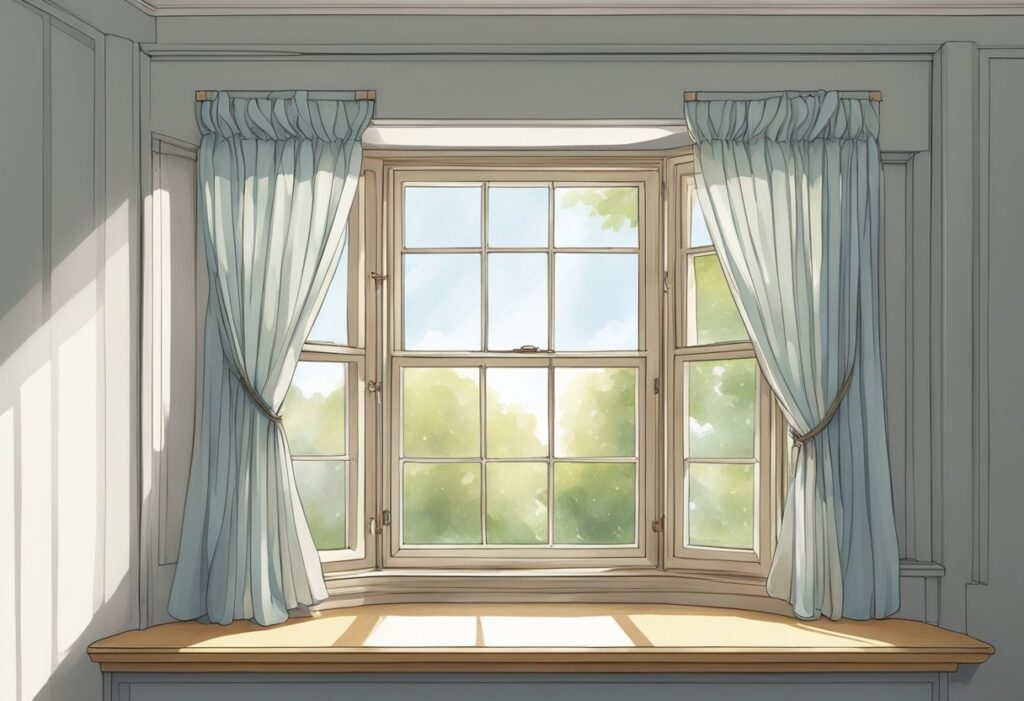
Sash windows are a classic architectural feature found in many UK homes. These windows consist of movable panels (sashes) that hold glass panes and operate within a frame, providing both functionality and aesthetic appeal.
History and Design
Sash windows originated in the late 17th century in England, becoming widely popular during the Georgian, Victorian and Edwardian periods. The traditional design features two sashes that slide vertically within a frame.
Each sash contains multiple panes of glass divided by thin wooden bars called muntins or glazing bars. The configuration of these panes often reflects the architectural period of the building. Georgian windows typically feature a six-over-six design, while Victorian windows might have a two-over-two pattern.
The operation of sash windows is made possible by a system of weights, pulleys and cords hidden within the frame. This counterbalance mechanism allows for smooth movement of the heavy glass panels. Modern sash windows may use spring balances instead of weights.
Types of Sash Windows
Single-hung sash windows have one movable sash (usually the bottom one) while the top sash remains fixed. These are simpler in construction and often less expensive than other types.
Double-hung sash windows feature two movable sashes that can both slide up and down. This design provides greater ventilation control, allowing air to circulate by opening both top and bottom sections.
Horizontal sliding sash windows move from side to side rather than up and down. Though less traditional, they offer similar benefits to vertical sash windows.
PVC sash windows provide a modern alternative to traditional timber. These offer improved thermal efficiency and require less maintenance than wooden frames. They can be manufactured to closely resemble traditional wooden sash windows whilst offering modern benefits.
So, How Are Sash Windows Fitted?
Preparation for Fitting Sash Windows
Before installing sash windows, proper preparation ensures a smooth fitting process and a long-lasting result. Taking time to prepare can prevent common issues and reduce the need for adjustments later.
Measuring and Sizing
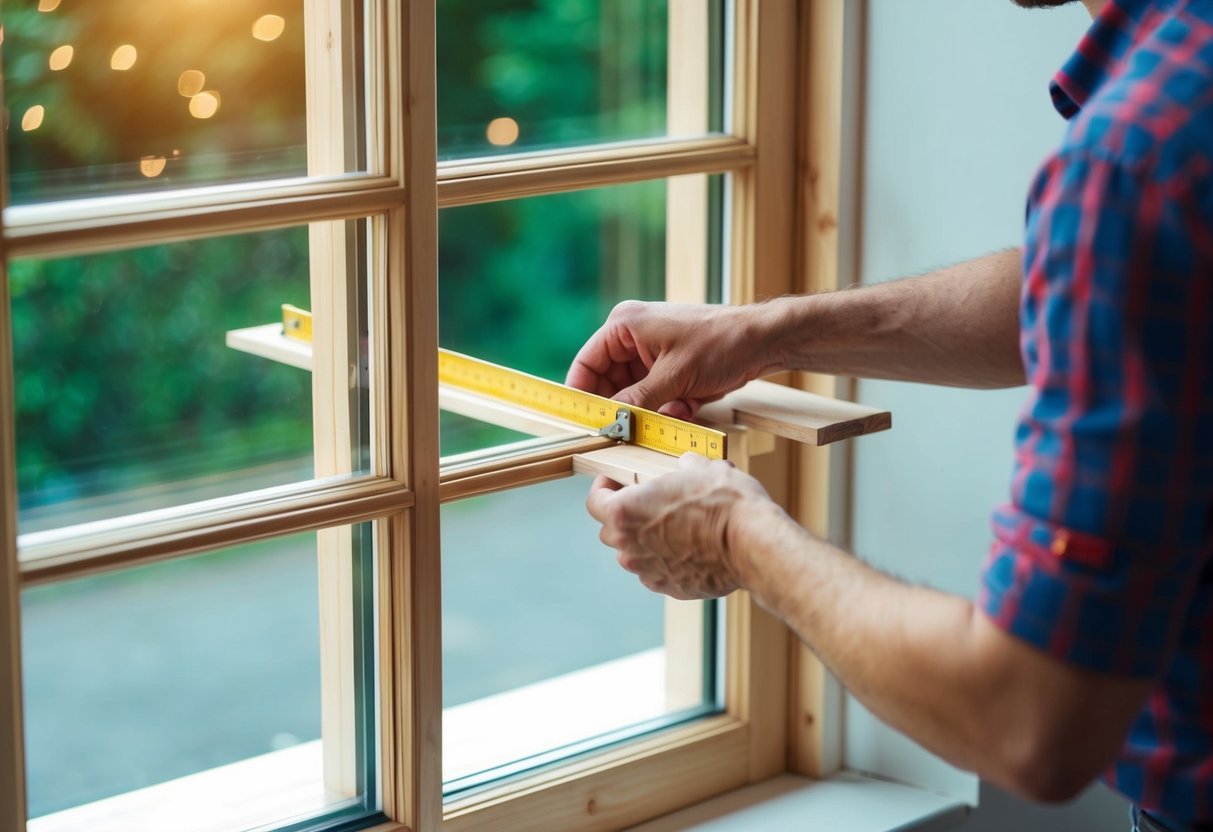
Accurate measurements are crucial for a successful sash window installation. Measure the width at three points—top, middle, and bottom—and use the smallest measurement. For height, measure from the sill to the head at both sides and the centre.
When determining the position of the window, consider how far forward or back it should sit in the reveal. This positioning often depends on the existing window location or what works best for your specific wall type.
For DIY installations, it’s wise to subtract 5mm from both width and height measurements to allow for expansion and easy fitting. This small gap will be covered by sealant later.
If replacing existing sash windows, remove the old window first to get precise measurements of the structural opening. Remember that different materials may require different spacing allowances.
Tools and Materials Required
A well-prepared toolkit is essential for fitting sash windows. Basic tools include:
- Tape measure and spirit level
- Cordless drill with appropriate bits
- Hammer and chisel
- Screwdriver set
- Silicone gun and sealant
- Utility knife
Materials needed will depend on the window type. For timber sash windows, you’ll need:
- Fixing brackets or screws
- Staff beads and parting beads
- Sash cords (if using traditional hung sashes)
- Foam backing rod
- Expanding foam (for gaps larger than 5mm)
- Wood shims or packers
PVC sash windows typically come with their own fixing brackets and may require fewer additional materials. Most manufacturers provide specific fitting instructions with their windows.
Safety Precautions for Do It Yourself Installation
DIY sash window installation involves working at height and handling heavy, fragile materials. Always work with a partner when lifting and positioning windows.
Wear appropriate safety gear including:
- Cut-resistant gloves
- Safety goggles
- Dust mask (especially when removing old windows)
- Sturdy footwear
Use a stable platform or scaffold when working above ground level. Never balance on unstable objects or lean out of existing window openings.
When handling glass, be aware of sharp edges. Old sash windows may contain lead paint or asbestos in putty, so take appropriate precautions during removal.
If installing in upstairs rooms, secure the area below to prevent injuries from falling tools or materials. Working methodically reduces risks and produces better results.
Installation Process
Installing sash windows involves precise measurements and careful handling to ensure proper fit and function. The process requires removing old windows first, then fitting new ones with proper alignment, and finally securing and sealing them for insulation and weatherproofing.
Removing Old Windows
Begin by removing the old sash window carefully to preserve the surrounding structure. Use a flat pry bar to gently remove the staff bead on the interior side of the window frame. This wooden strip holds the lower sash in place.
Next, remove the lower sash and cut any sash cords attached to it. Once the lower sash is free, remove the parting beads—the dividers between the upper and lower sash—to release the upper sash.
Take care when extracting the box frame if you’re replacing the entire window unit. This typically requires cutting through paint seals and removing fixing screws from the surrounding brickwork or timber.
Inspect the wall opening for any damage or rot that might need repair before installing the new window.
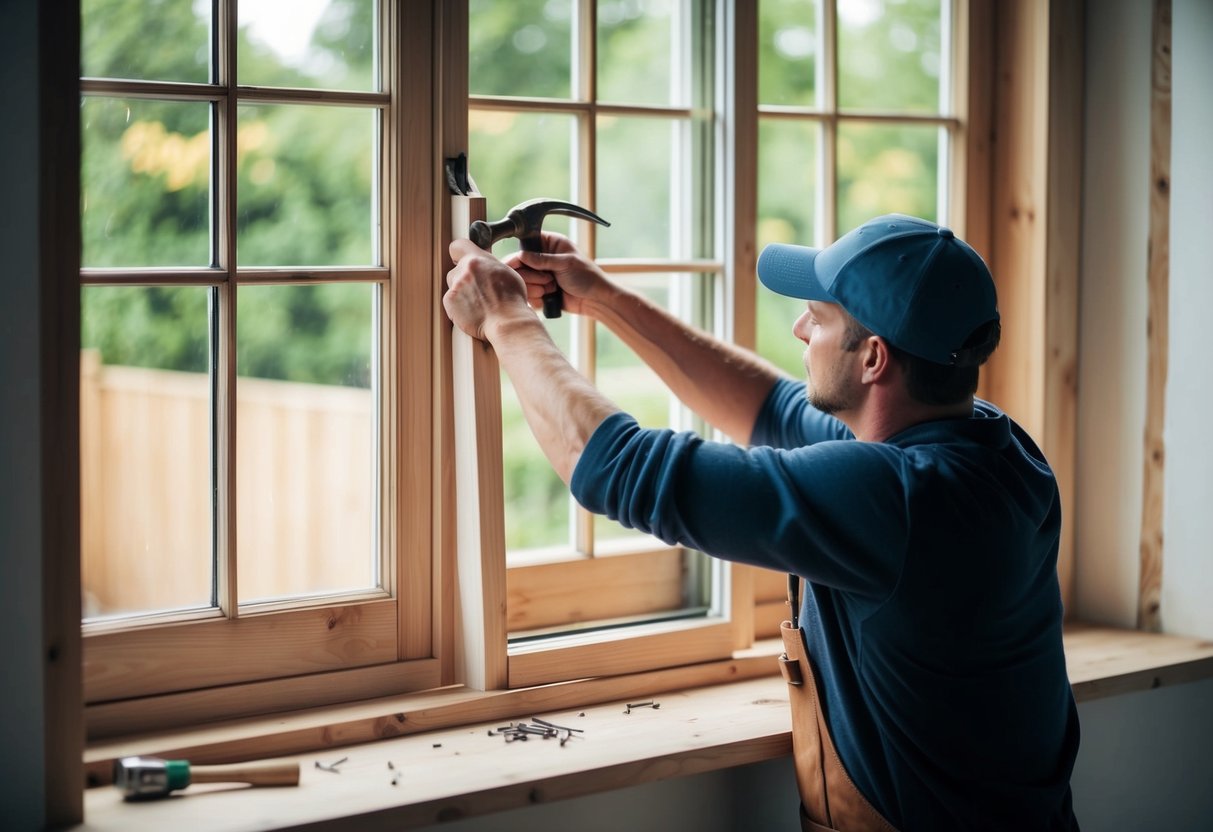
Fitting New Sash Windows
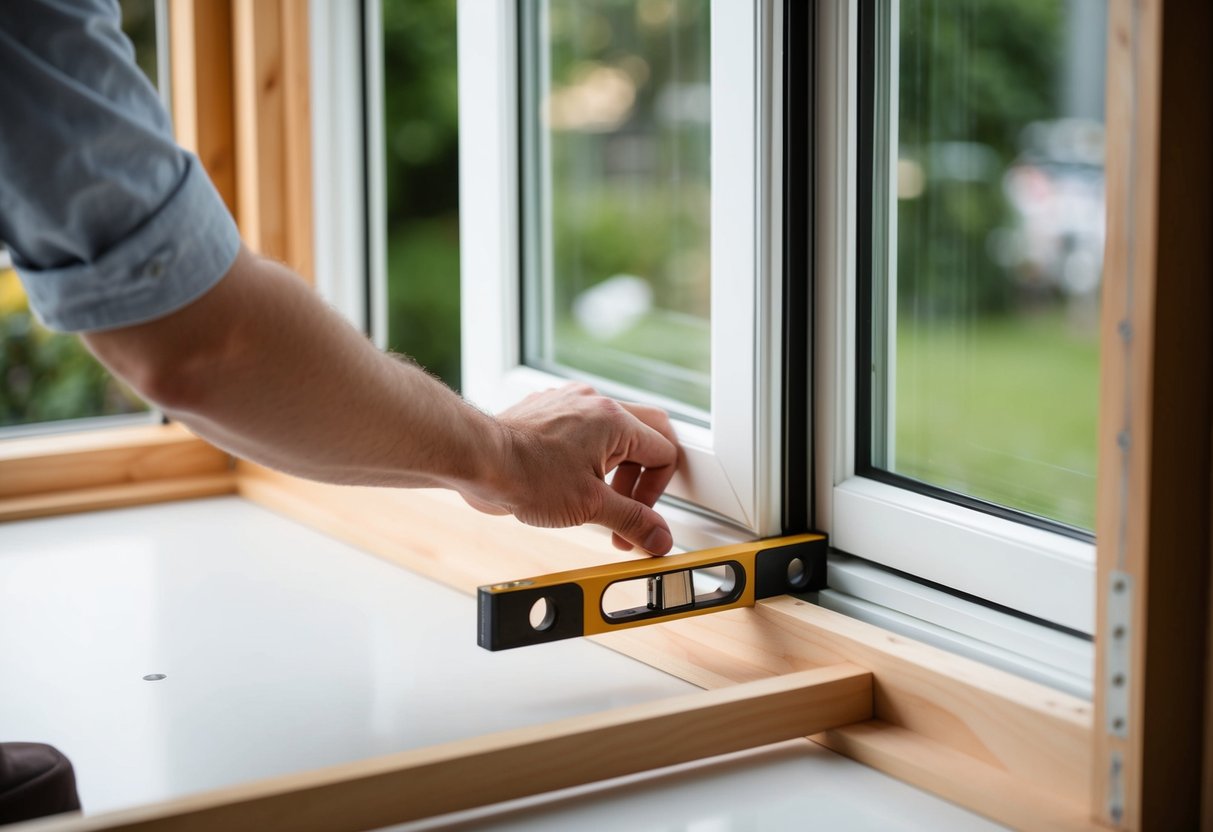
Position the new window frame in the opening, ensuring it’s level and square. Use a spirit level to check all sides. For UPVC sash windows, the frame typically comes pre-assembled.
Insert packers at strategic points to maintain proper spacing and prevent distortion of the frame when securing it. Wooden shims work well for traditional timber sash windows.
Pre-drill fixing holes through the jambs at approximately 600mm intervals. When installing, leave a 5-10mm gap around the frame for expansion and insulation.
For traditional sash windows, install the pulleys and thread new sash cords through them. Attach the cords to the sash weights hidden in the frame pockets to enable smooth operation.
Securing and Sealing
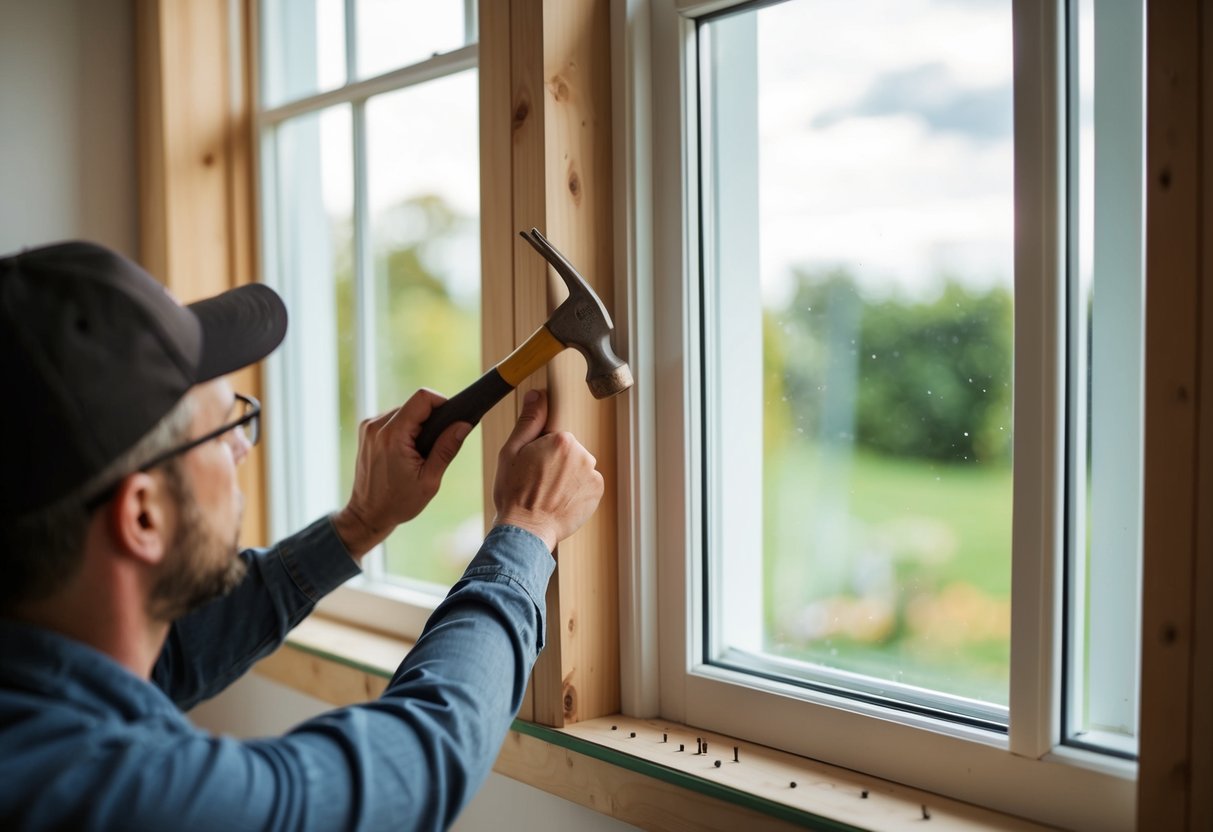
Secure the window frame to the wall using appropriate fixings. For masonry walls, use frame fixings or screws with wall plugs. For timber frame buildings, long wood screws work best.
Once secured, check that both sashes slide smoothly and lock properly. Make adjustments to the sash cords or balance mechanisms if necessary.
Apply expanding foam insulation to the gap between the frame and wall. This creates an airtight, waterproof seal while allowing for natural movement.
Finally, fit new staff beads to hold the lower sash in position. These can be pinned in place with finishing nails. Apply silicone sealant along all external joints to make the installation weatherproof.
Clean the window thoroughly after installation and check the operation of locks, catches and stays to ensure everything functions correctly.
Post-Installation
After your sash windows are fitted securely in place, several important tasks remain to ensure optimal performance and appearance. These final steps will protect your investment and enhance the functionality of your new windows.
Finishing Touches
Once the sash windows are properly installed, apply sealant around the entire frame where it meets the wall. Use a high-quality silicone or acrylic sealant suitable for external use. This creates a weatherproof barrier against drafts and moisture.
Install window furniture such as sash locks, lifts, and fasteners if they weren’t pre-fitted. Position these accessories at optimal heights for easy operation.
For traditional timber sash windows, apply paint or stain to protect the wood and achieve your desired finish. Allow adequate drying time between coats. For uPVC windows, wipe down with a suitable cleaner.
Check the window operation to ensure sashes slide smoothly. Make minor adjustments to cords, weights, or spiral balances if needed.
Install proper ventilation options such as trickle vents if required by building regulations. These provide continuous airflow even when windows are closed.
Cleaning Up
Remove all protective films from uPVC or aluminium components. These films protect during installation but will degrade if left exposed to sunlight for extended periods.
Clean glass thoroughly using appropriate glass cleaner and lint-free cloths. Remove any adhesive residue, fingerprints, or construction dust.
Clear the window tracks of debris and vacuum the surrounding area. Small particles can interfere with smooth window operation over time.
Dispose of packaging materials and old window components responsibly. Many materials can be recycled rather than sent to landfill.
Wipe down the entire window frame with a mild detergent solution to remove dust and fingerprints. For bow windows or bay configurations, ensure all individual sash units are properly cleaned.
Test the windows by opening and closing several times. Ensure they operate smoothly and lock securely before considering the job complete.
Maintenance and Care
Proper maintenance of sash windows extends their lifespan and preserves their functionality. Regular attention to cleaning, hardware, and weatherproofing will keep these classic windows operating smoothly and efficiently.
Regular Maintenance
Keeping sash windows clean is essential for both appearance and function. Use a mild detergent mixed with water and a soft cloth to clean the glass and frames. Avoid harsh chemicals that might damage the wood or paint finishes.
Paint wooden sash windows every 3-5 years to protect them from the elements. Before painting, lightly sand the surface and remove any flaking paint. Choose high-quality exterior paint suitable for timber.
Lubricate moving parts like pulleys and sliding channels twice yearly. A silicone-based lubricant works best as it doesn’t attract dust. Apply sparingly to prevent build-up.
Check weatherstripping and seals annually for wear or damage. Replace as needed to maintain good ventilation control and prevent draughts. This helps improve energy efficiency during colder months.
Troubleshooting Common Issues
Sticking windows are a common problem with sash windows. If your window sticks, check for paint build-up on the edges and carefully sand it away. For swollen timber caused by moisture, gentle sanding of the affected areas can restore smooth operation.
Broken sash cords prevent proper window function. To replace them, carefully remove the staff bead (the wooden strip holding the lower sash in place), then the sash itself. Install new cords through the pulley system and reattach to the sash weights.
Rattling windows indicate loose components or worn weatherstripping. Tighten any loose screws and replace worn draught excluders. For gaps between the sash and frame, install brush pile seals to reduce air infiltration while maintaining ventilation capability.
Condensation between panes suggests seal failure in double-glazed units. This requires professional attention to replace the glazing unit while preserving the original window frames.
