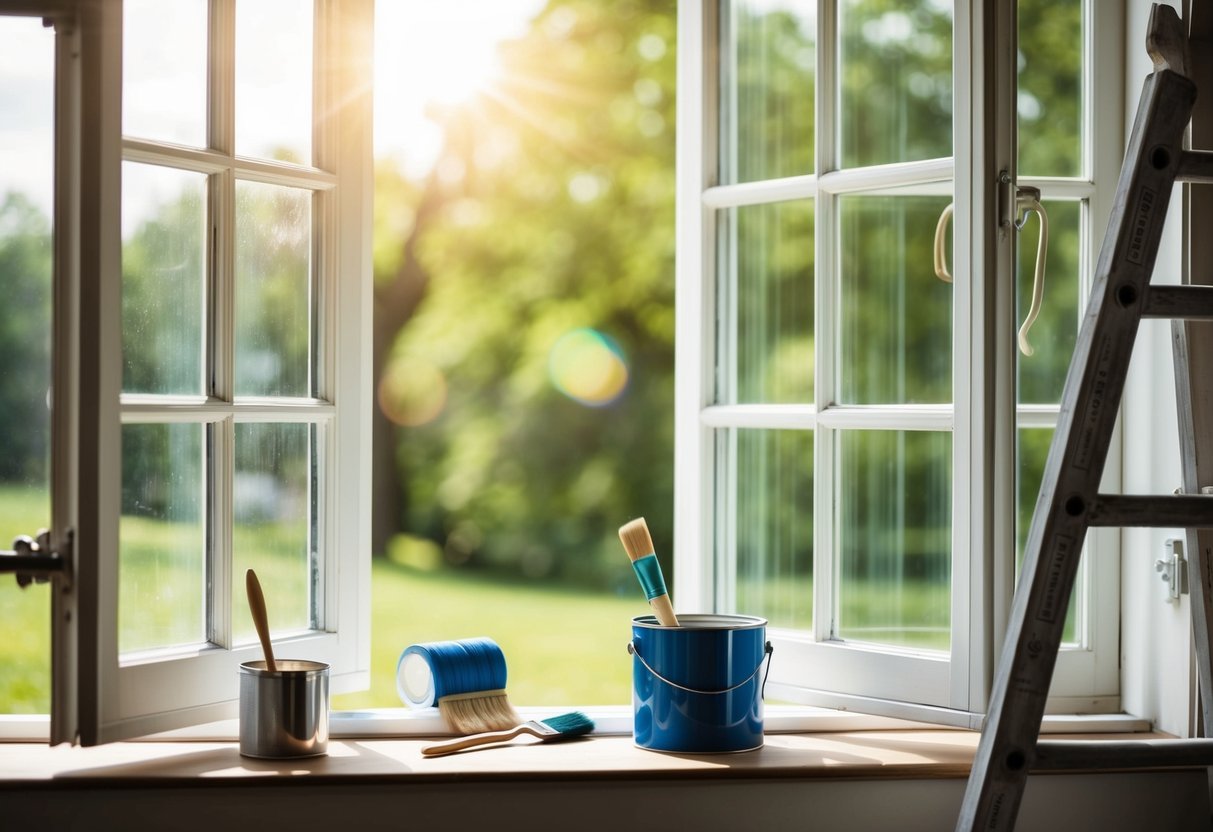
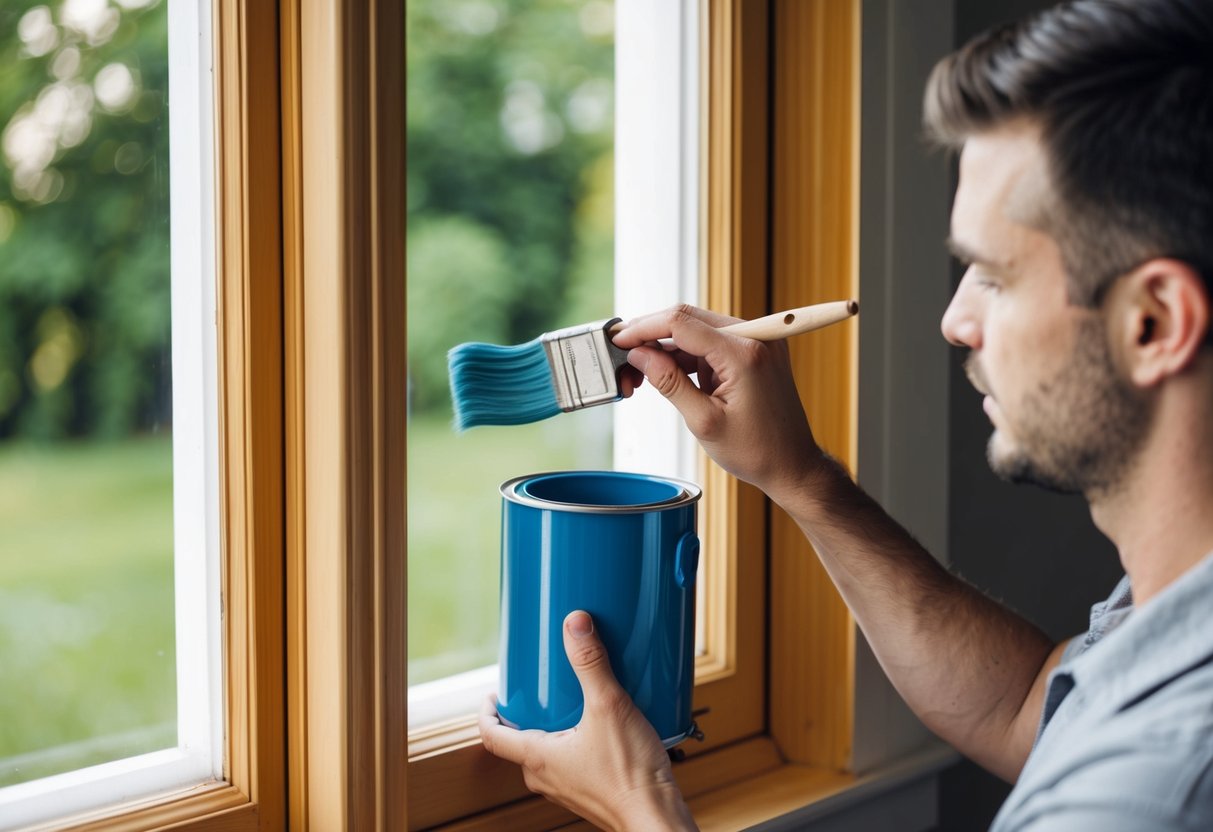
Painting sash windows can breathe new life into a home’s appearance. These classic windows add charm and character, but they require proper care and maintenance to look their best. With some preparation and the right technique, anyone can learn how to paint sash windows to a professional standard.

The key steps to painting sash windows include removing hardware, sanding the surface, priming if needed, and applying even coats of paint with careful attention to detail. It’s important to paint the windows in the correct order and allow proper drying time between coats. This prevents the sashes from sticking together and ensures a smooth, long-lasting finish.
A fresh coat of paint on sash windows not only improves their looks but also helps protect the wood from moisture and decay. Learning how to paint sash windows and taking the time to do it properly can extend their lifespan and maintain the beauty of a home for years to come. With some patience and the right approach, this DIY project can yield impressive results.
Required Materials

Painting sash windows requires specific tools and materials to achieve a professional finish. Proper preparation and high-quality supplies are essential for a successful project.
Choosing Quality Paint
Selecting the right paint is crucial for sash windows. Opt for exterior-grade paint that can withstand weather conditions. Oil-based paints offer durability and a smooth finish, while water-based options are easier to clean up. Choose a paint specifically formulated for wood surfaces.
Consider the colour and sheen carefully. Light colours reflect heat, while darker shades absorb it. A satin or semi-gloss finish is ideal for sash windows, as it’s easier to clean and resists moisture.
Don’t forget primer. It helps the paint adhere better and provides extra protection for the wood. Use a primer designed for exterior wood surfaces.
Additional Tools and Materials
Several tools are needed to prepare and paint sash windows properly:
- Sandpaper (coarse and fine grits)
- Paint brushes (2-inch and 4-inch)
- Masking tape or painter’s tape
- Screwdriver for removing hardware
- Decorator’s knife for scraping
- Wood filler for repairs
- Drop cloths to protect surfaces
A scraper helps remove old paint, while a putty knife is useful for applying filler. Clean rags are essential for wiping surfaces and cleaning up spills.
Consider using a paint sprayer for large projects or to achieve a smooth finish. Protective gear like gloves and safety glasses is also important.
Preparation of Sash Windows

Getting sash windows ready for painting involves key steps to ensure a smooth, long-lasting finish. Proper preparation makes the painting process easier and improves the end result.
Making Repairs
Check the window frame for rot or damage. Replace any rotted wood with filler or new timber. Fix loose joints and cracks with wood glue. Seal gaps between the frame and wall with caulk. Remove old putty around glass panes and replace it. Let new putty dry fully before painting.
Sand down raised grains or splinters. Fill small holes and dents with wood filler. Allow filler to dry, then sand it smooth. Repair or replace damaged sash cords and weights if needed. Make sure windows open and close smoothly.
Cleaning and Sanding
Remove all hardware like handles and locks. Use a scraper to strip off loose paint. Clean the surfaces with sugar soap to remove dirt and grease. Rinse well with clean water and let dry.
Sand the entire window frame and sashes with medium-grit sandpaper. This creates a smooth base for new paint to stick to. Pay extra attention to rough spots and edges. Wipe away all dust with a tack cloth.
For windows with many layers of old paint, use paint stripper to remove it all. Follow the product instructions carefully. Scrape off softened paint, then sand the bare wood.
Painting Techniques

Proper painting techniques are key for a professional-looking finish on sash windows. Focus on applying even coats and achieving a smooth surface for best results.
Applying Undercoat
Start by applying an undercoat to create a solid base for the topcoat. Use a high-quality brush or small foam roller to apply the paint evenly. Work in thin layers, painting with the grain of the wood. Allow each coat to dry fully before sanding lightly with fine-grit sandpaper.
Apply two coats of undercoat for the best coverage. Pay extra attention to any repaired areas or bare wood. Be careful not to overload the brush, as this can lead to drips and an uneven finish.
Let the final undercoat dry completely before moving on to the topcoat. This usually takes 24 hours, but check the paint tin for specific drying times.
Achieving Smooth Finish
For a smooth finish, use a high-quality gloss paint designed for wood. Apply the paint in thin, even coats using long, smooth strokes. Paint in the direction of the wood grain to minimise brush marks.
Work methodically, starting with the glazing bars, then moving to the frame and sash. Use a small brush for detailed areas and a larger brush for larger surfaces. Avoid overworking the paint, as this can lead to visible brush strokes.
Allow each coat to dry fully before applying the next. Sand lightly between coats with fine-grit paper to remove any dust or imperfections. Wipe away dust with a tack cloth before applying the next layer.
For the best results, apply two coats of topcoat. This will ensure good coverage and a durable finish that protects the wood.
Reassembling the Window

After painting, it’s time to put your sash window back together. This involves reattaching hardware and ensuring smooth operation. Proper reassembly is key for a functional and attractive window.
Attaching Window Furniture
Start by cleaning the window furniture with a damp cloth to remove any paint. Make sure all parts are completely dry before reattaching. Carefully align each piece with its original holes and secure with screws. Don’t overtighten, as this can damage the wood or strip the screw holes.
For sash locks, place them on the meeting rail where the two sashes meet. Test the lock to ensure it engages properly. Reattach sash lifts to the bottom rail of the lower sash. These help with opening and closing the window.
If you’ve replaced old ironmongery with new pieces, you may need to drill new holes. Use a drill bit slightly smaller than the screw diameter for a snug fit.
Care for Side Runners and Glazing Bars
Clean the side runners thoroughly to remove any paint buildup. Apply a thin layer of lubricant to help the sashes glide smoothly. Beeswax or silicone spray work well for this purpose.
Check the glazing bars for any excess paint. Use a razor blade to carefully scrape off paint that might prevent the window from closing properly. Be gentle to avoid damaging the wood or glass.
Inspect the edges where the sashes meet the frame. If paint has sealed these areas, run a utility knife along the seam to break the paint seal. This allows the window to open and close freely.
Test the window’s operation. Open and close both sashes fully to ensure smooth movement. If you notice any sticking points, address them before considering the job complete.
Maintenance and Care
Sash windows require regular upkeep to stay in top shape. Timber and wooden sash windows need extra attention due to their high maintenance nature.
Inspect the windows twice a year for signs of wear. Look for peeling paint, cracks in the frame casing, or loose mullions. Address any issues promptly to prevent further damage.
Clean the windows and frames regularly with a soft cloth and mild soap. Avoid harsh chemicals that could strip the paint or damage the wood.
Repaint or re-varnish wooden sash windows every 3-5 years to protect the timber. Sand lightly before applying new paint for better adhesion.
Check and replace weatherstripping as needed to maintain energy efficiency. Lubricate moving parts like pulleys and catches yearly with silicone spray.
For wooden windows, treat with wood preservative every few years to guard against rot and insects. Fill any small cracks or holes with wood filler to keep moisture out.
Consider upgrading to double-glazed sash windows for improved insulation and reduced maintenance. While costlier upfront, they can save money long-term on energy bills and upkeep.

