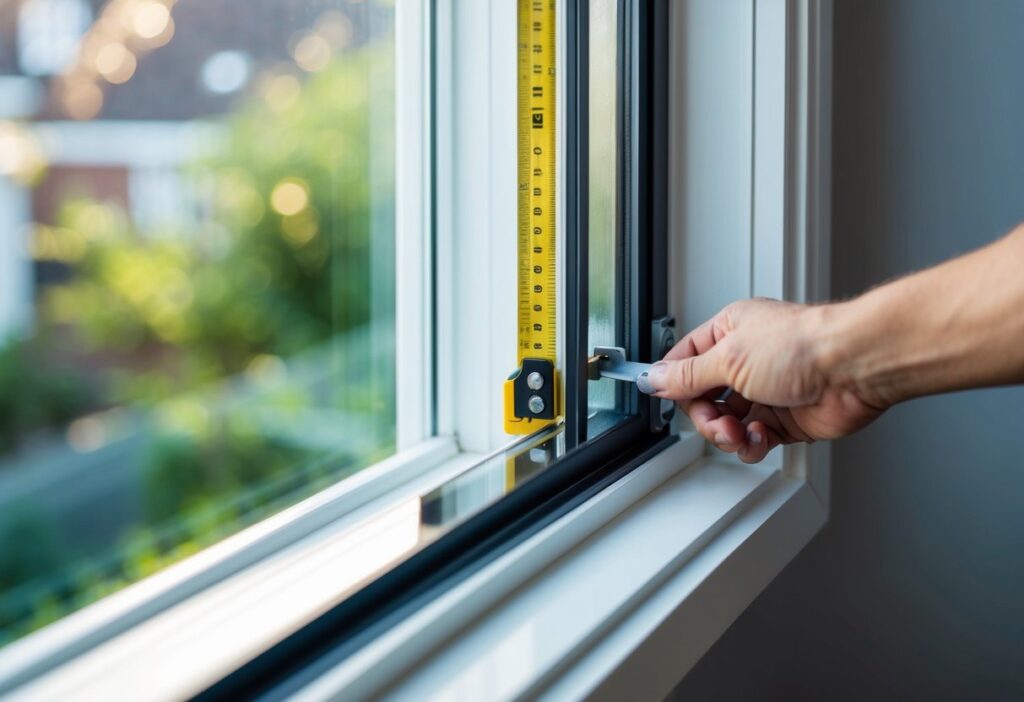
Secondary glazing is a smart way to boost your home’s energy efficiency and cut down on outside noise. It’s a budget-friendly option that can make a big difference to your comfort and bills. Installing secondary glazing can reduce heat loss through windows by up to 60% and lower noise levels by up to 80%.
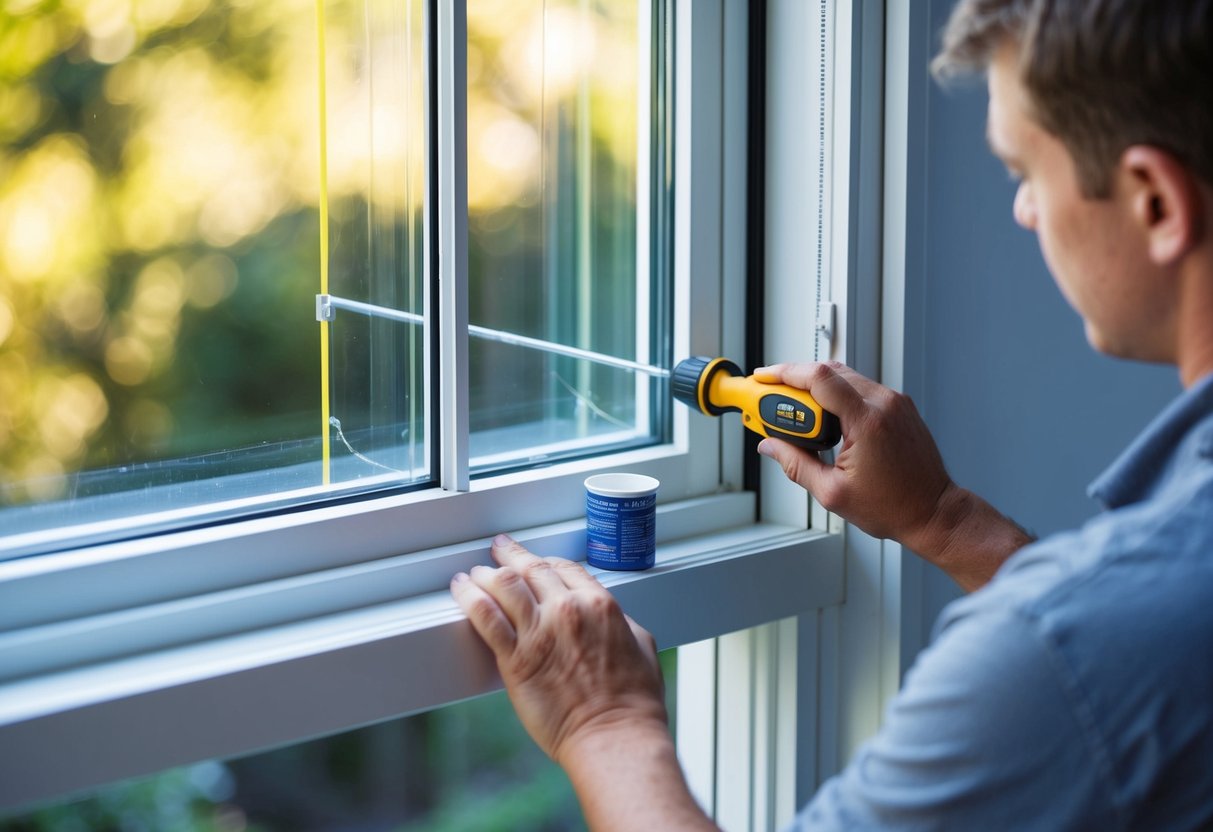
This guide will walk you through the steps to fit secondary glazing yourself. You’ll learn about the tools and materials you need, how to measure your windows, and the best techniques for a snug fit. We’ll cover both magnetic and screw-in methods, so you can choose what works best for your home.
With a bit of DIY know-how, you can tackle this project over a weekend. You’ll soon be enjoying a cosier, quieter home without breaking the bank. Let’s get started on your secondary glazing journey.
Understanding Secondary Glazing
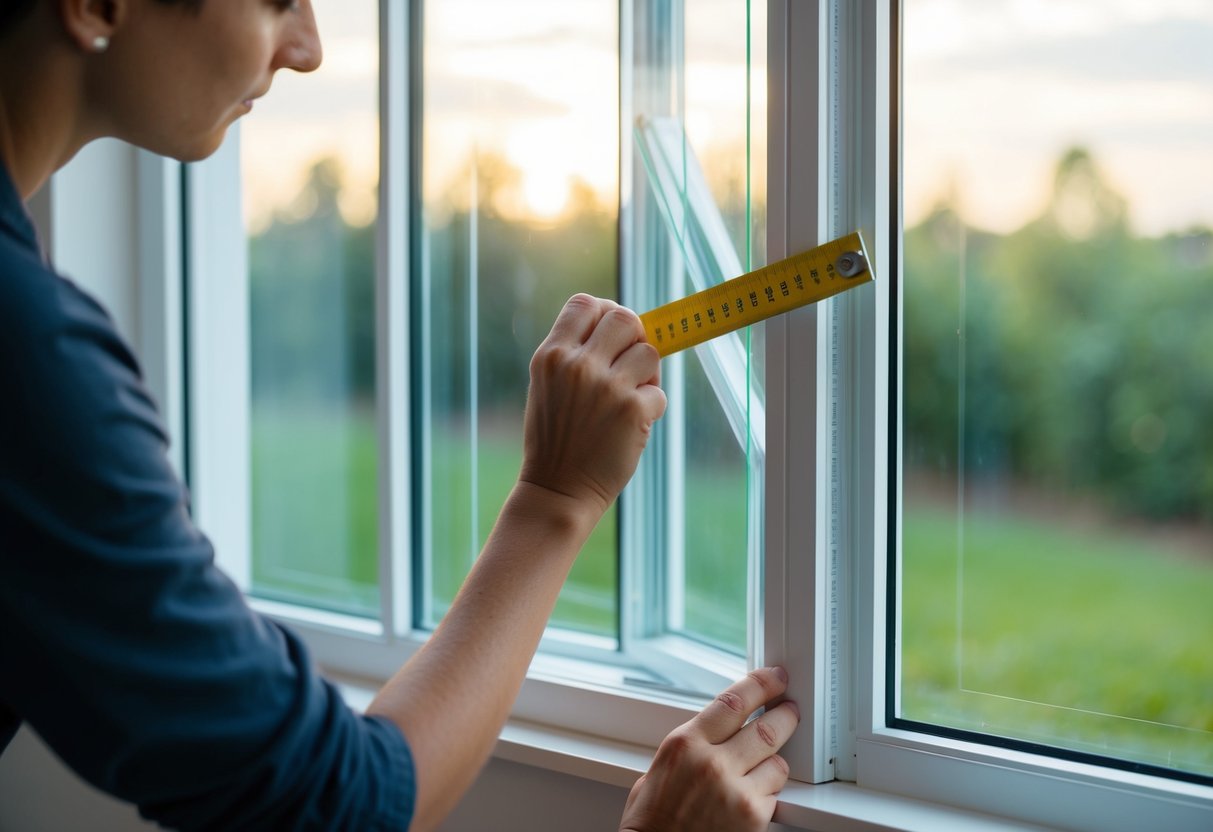
Secondary glazing adds an extra layer of glass to existing windows. It boosts insulation and cuts noise without replacing the original windows.
Benefits of Installing Secondary Glazing
Secondary glazing offers many perks for homeowners. It makes rooms warmer by trapping a layer of air between the panes. This air acts as insulation, keeping heat inside and cold out. Energy bills often drop as a result.
Noise reduction is another big plus. The extra pane blocks outside sounds, creating a quieter home. This is great for houses near busy roads or in noisy areas.
Security improves too. The extra layer makes it harder for intruders to break in. Some systems even have special locks for added safety.
Condensation often decreases with secondary glazing. The warmer inner pane stops moisture from forming as easily. This helps prevent mould and damp issues.
Comparing Secondary Glazing to Double Glazing
Secondary glazing differs from double glazing in key ways. Double glazing replaces the whole window with two sealed panes. Secondary glazing keeps the old window and adds a new pane inside.
Cost is a big factor. Secondary glazing is usually cheaper to install. It’s a good choice for listed buildings where changing windows isn’t allowed.
Double glazing tends to be more energy-efficient. The sealed unit traps more air, cutting heat loss better. But secondary glazing still gives good results, especially in older homes.
Installation is simpler with secondary glazing. It causes less mess and can often be a DIY job. Double glazing needs experts and more work to fit.
Both options cut noise, but secondary glazing can be better. The gap between panes is often wider, which helps block more sound.
Preparing for Installation
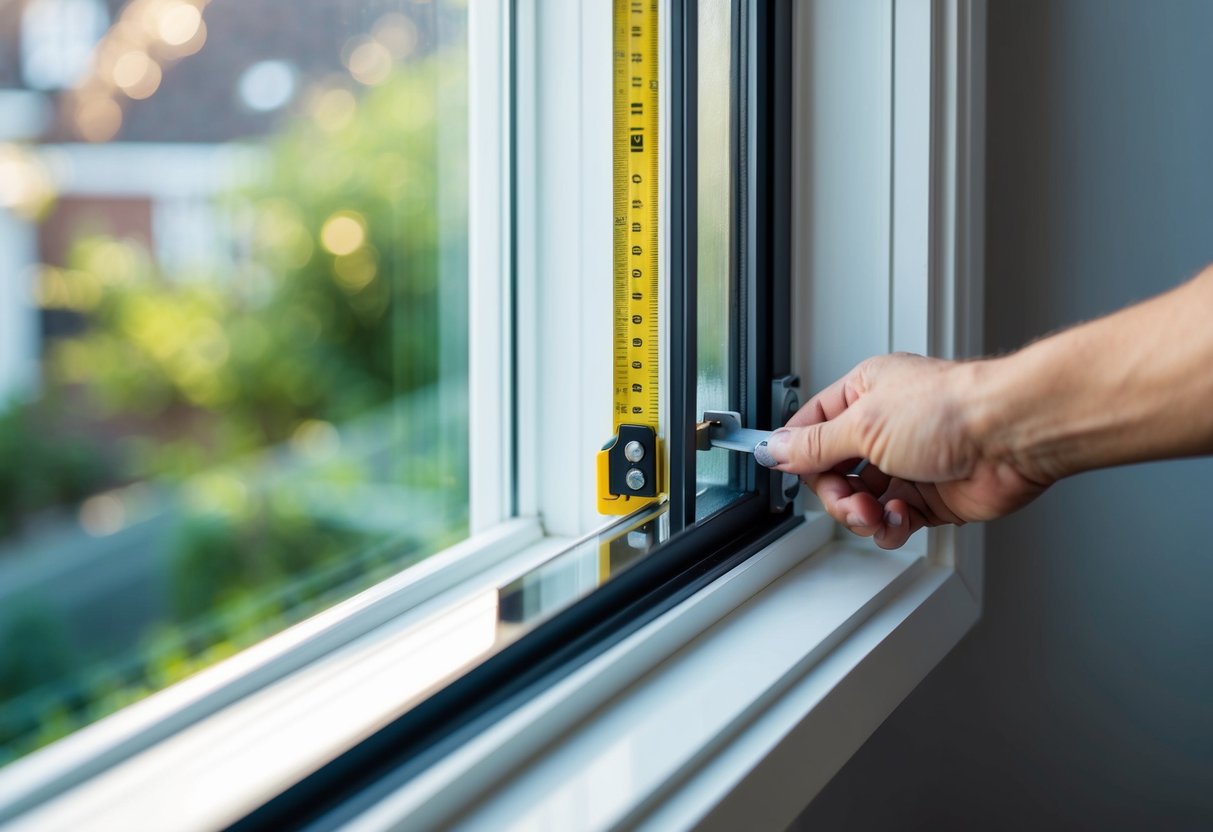
Getting ready to install secondary glazing involves gathering the right tools and taking precise measurements. These steps are key to a smooth installation process.
Tools and Materials Needed
To install secondary glazing, you’ll need several essential items. Gather a measuring tape, pencil, and notepad for taking measurements. You’ll also require a drill with appropriate drill bits, screws, and a screwdriver. A spirit level is crucial for ensuring your glazing is straight. Don’t forget safety gear like gloves and safety glasses.
For the glazing itself, you’ll need the secondary glazing panels, frame components, and any necessary brackets or clips. Silicone sealant and a caulking gun are important for sealing gaps. Have a clean cloth and glass cleaner on hand for final touches.
Taking Accurate Measurements
Precise measurements are vital for a proper fit. Start by measuring the width of the window frame at the top, middle, and bottom. Use the smallest measurement to ensure the glazing fits. Next, measure the height on both sides and in the centre, again using the smallest measurement.
Check if the window frame is square by measuring diagonally corner to corner both ways. If there’s more than a 5mm difference, you may need to adjust your measurements. Note any obstructions like handles or vents that might affect the fit.
Measure the depth of the frame to ensure there’s enough space for the secondary glazing. Record all measurements clearly, double-checking for accuracy.
The Installation Process
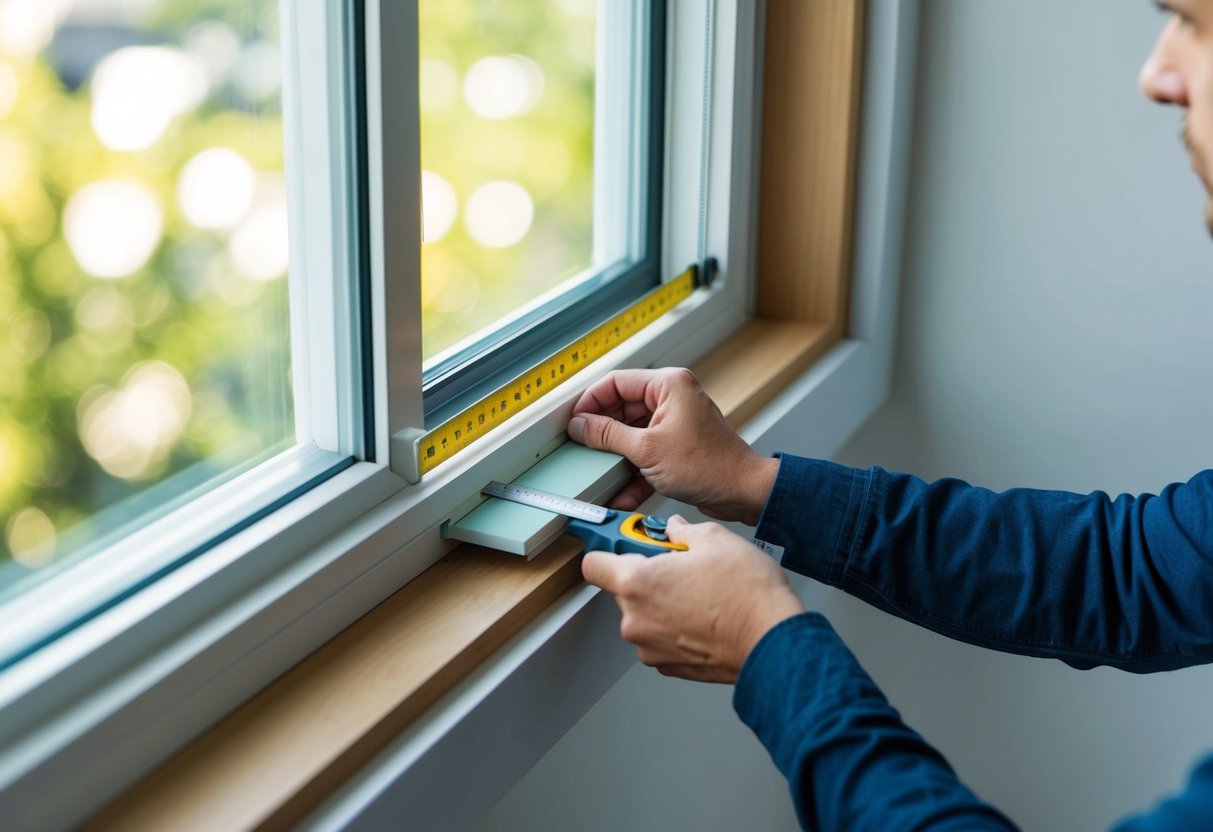
Installing secondary glazing can be done in a few key steps. This process involves applying adhesive and magnetic strips, fitting the glazing panel, and making sure it creates an airtight seal.
Applying the Adhesive and Magnetic Strips
Start by cleaning the window frame thoroughly. Use a mild detergent and dry the surface completely.
Measure and cut the magnetic strips to fit the window frame. Peel off the backing and stick them around the frame’s edge.
For the glazing panel, attach the opposite magnetic strip. This creates a strong, removable bond.
Fitting the Glazing Panel
Hold the glazing panel up to the window frame. Line it up carefully with the magnetic strips.
Press the panel firmly against the frame. Start at one corner and work your way around.
You should hear a clicking sound as the magnets connect. This means the panel is attaching properly.
For large windows, use plastic securing clips for extra support. These prevent the panel from slipping down over time.
Ensuring an Airtight Seal
Check for any gaps between the panel and frame. Small gaps can let in draughts and reduce effectiveness.
Use a silicone sealant to fill any gaps you find. Apply a thin bead along the edges where needed.
Smooth the sealant with a wet finger or tool. This creates a neat finish and ensures a tight seal.
Let the sealant dry fully before testing the window. This usually takes 24 hours.
After drying, open and close the window to check the seal. Make any needed adjustments for a perfect fit.
Securing and Sealing the Glazing
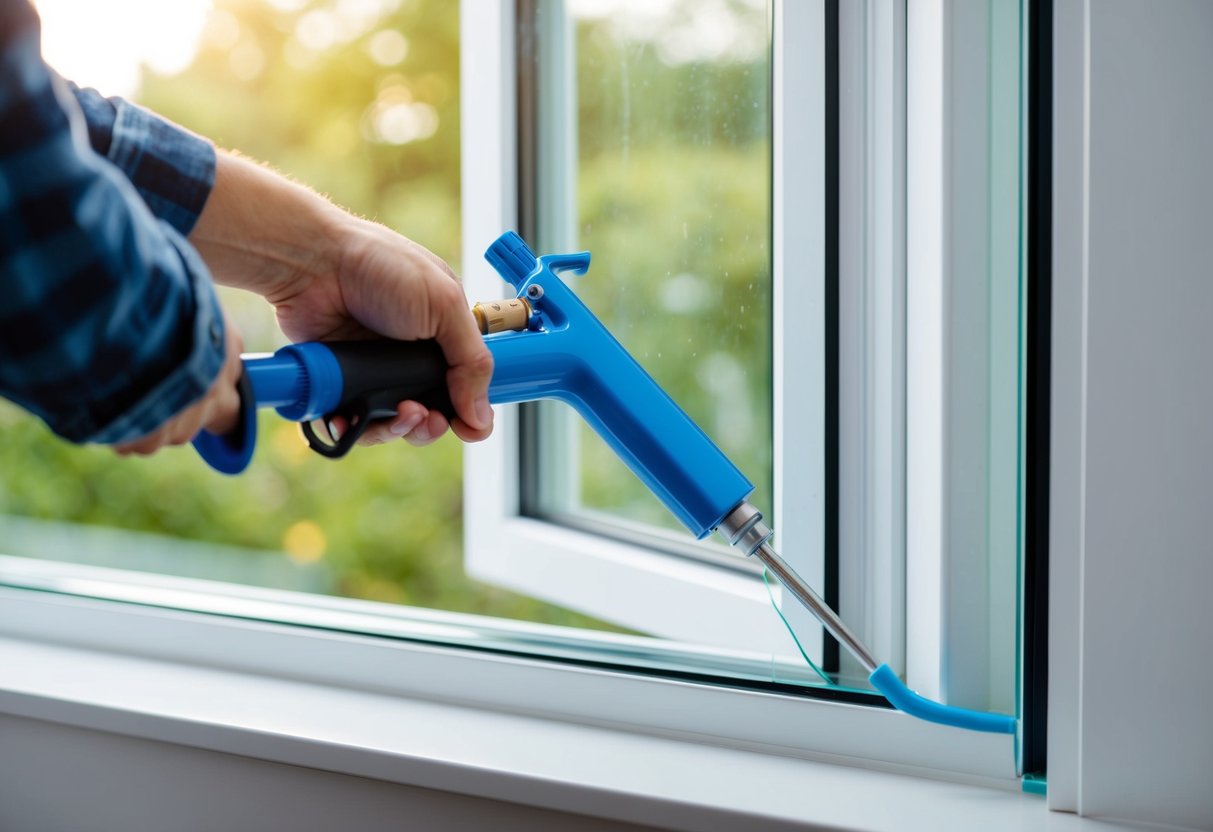
Proper installation of secondary glazing requires careful securing and sealing. This ensures a tight fit and maximises insulation benefits. Two key steps are fixing the glazing in place and applying sealant.
Fixing with Screws and Clamps
Start by positioning the secondary glazing panel in the window frame. Use a spirit level to check it’s straight. Mark screw holes on the frame, then pre-drill them to prevent splitting. Insert screws through the glazing frame into the window frame, but don’t fully tighten yet.
Place plastic clamps along the edges for extra support. These prevent the panel from slipping over time. Space clamps about 30 cm apart.
Now tighten all screws fully. Be careful not to overtighten, as this can crack the glazing. Check the panel is secure by gently pushing on it.
Applying Silicone Sealant for Insulation
Clean the edges where the glazing meets the window frame. Use a damp cloth to remove dust and let it dry completely.
Cut the nozzle of the silicone sealant tube at a 45-degree angle. This helps create a neat bead. Load the tube into a caulking gun.
Apply a thin, even bead of sealant along the edges. Move the gun smoothly and steadily. Don’t stop and start, as this creates lumps.
Smooth the sealant with a wet finger or sealant tool. This pushes it into gaps and creates a tidy finish. Wipe away any excess with a damp cloth.
Let the sealant dry for 24 hours before touching the glazing. This ensures a strong, airtight seal.
Post-Installation Care
After installing secondary glazing, proper maintenance keeps secondary glazing working well for years. Regular cleaning and addressing common issues like condensation are key to preserving its performance and appearance.
Cleaning and Maintenance Tips
Clean secondary glazing panels every few months with a soft cloth and mild soapy water. Avoid harsh chemicals that could damage the surface. Wipe down frames and seals to remove dust and grime. Check for loose fixings or gaps, and tighten or reseal as needed.
Lubricate moving parts yearly with silicone spray. This keeps sliding panels smooth. Remove any dirt from tracks. For tilt-and-turn units, clean hinges and locks.
Keep weep holes clear to allow moisture drainage. A small brush works well for this. Inspect weatherstripping and replace if worn. This maintains the seal.
Dealing with Condensation and Replacement
Condensation between panes means the seal has failed. Wipe away moisture to prevent mould. Improve ventilation by opening windows regularly. Use a dehumidifier in damp rooms.
If condensation persists, the unit may need replacing. Look for signs of damage like cracks or chips. Foggy glass also indicates seal failure.
DIY replacement is possible for confident homeowners. Measure carefully and order the correct size. Remove old glazing and clean the frame. Install new panels following the maker’s guide.
For tricky jobs, hire a pro. They ensure proper fit and seal. New units often have better insulation, boosting energy savings.
